- หา ref. และ ใช้ prompt ต่อไปนี้ สกัด character Gemini nanobanana Pro/ChatGPT image 2.0
Prompt นี้
While maintaining the distinctive features of the person in this reference image, modify it according to the following correction points, and then reconstruct it as a live-action bust shot of a standing subject taken from the front. However, make sure the head and hair are not cut off. Please faithfully maintain the hairstyle. Please strictly follow the instructions below.
<Important Note: Eliminating AI-like Appearance>
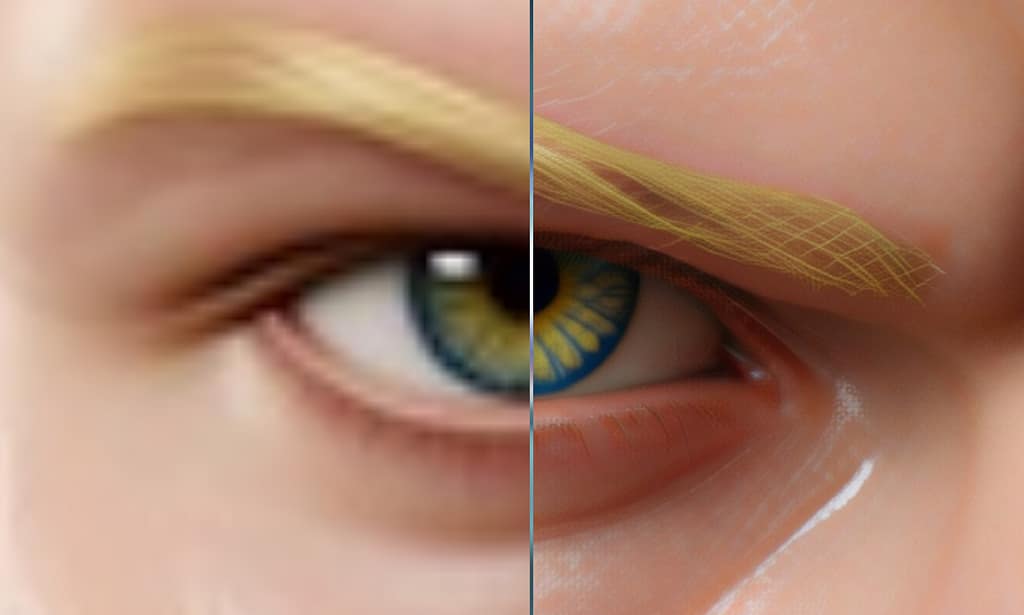
While maintaining the features of the person in the reference image (face contour, eye shape and size, nose shape, lip thickness, hairstyle and hair color, body type), thoroughly eliminate the following AI-specific unnaturalness: – Do not make the skin perfectly uniform. Add pores (tiny but present), a very thin sheen of sebum, and a fine texture where vellus hairs are translucent in the light. – Hair should not be perfectly neat strand by strand. Include stray hairs, strands of hair disheveled by wind or movement, and fine hairs that are translucent in the light. – Do not fill the iris with a solid color. Include a gradient with warm colors around the pupil and slightly cool colors around the outer edge, and the fiber pattern of the iris (radial lines). – Catchlights should be shaped to match the ambient light source (a thin line for fluorescent light, a rectangle for window light, and an irregular white dot for outdoor light). Avoid perfectly round white spots.
<Shooting Style>: Photographs taken with a real camera – Equipment: Modern full-frame mirrorless camera (Sony α7IV / Canon EOS R6 equivalent) – Lens: Medium telephoto 85mm F1.8, shot at wide open to F2.8 – Depth of Field: Just in focus on the subject’s face, slightly soft on the shoulders to chest, natural bokeh in the background (circular to lemon-shaped bokeh) – ISO 200-400 equivalent: Almost noiseless, but not completely noise-free (extremely fine color noise in dark areas) – White Balance: Natural color temperature matched to ambient light (slightly cool under fluorescent lights, slightly warm in the evening)
<Physical Consistency of Light and Shadow>: – Unify the direction of the light source. The highlights on the face, the shadows on the nose, the shadows under the chin, and the shading of the wrinkles in the clothing all originate from the same light source. – Ambient light color cast: Reflected light from surrounding walls, floors, plants, neon lights, etc., casts a slight color on the skin and clothing. – Shadows should not be solid black. Shadows should have some color (cool-toned shadows, or reflected colors from the environment).
<Background/Environment> – Plain, pure white background.
<Absolutely Forbidden Items> Plastic-like, uniformly shiny skin; perfect symmetry; unnaturally white teeth/whites of the eyes; shiny highlights; meaningless textures or melted details in the background; reflections of camera equipment/lighting equipment; watermarks/text
จะได้รูปหน้าตรง ฉากขาว คลีนๆ
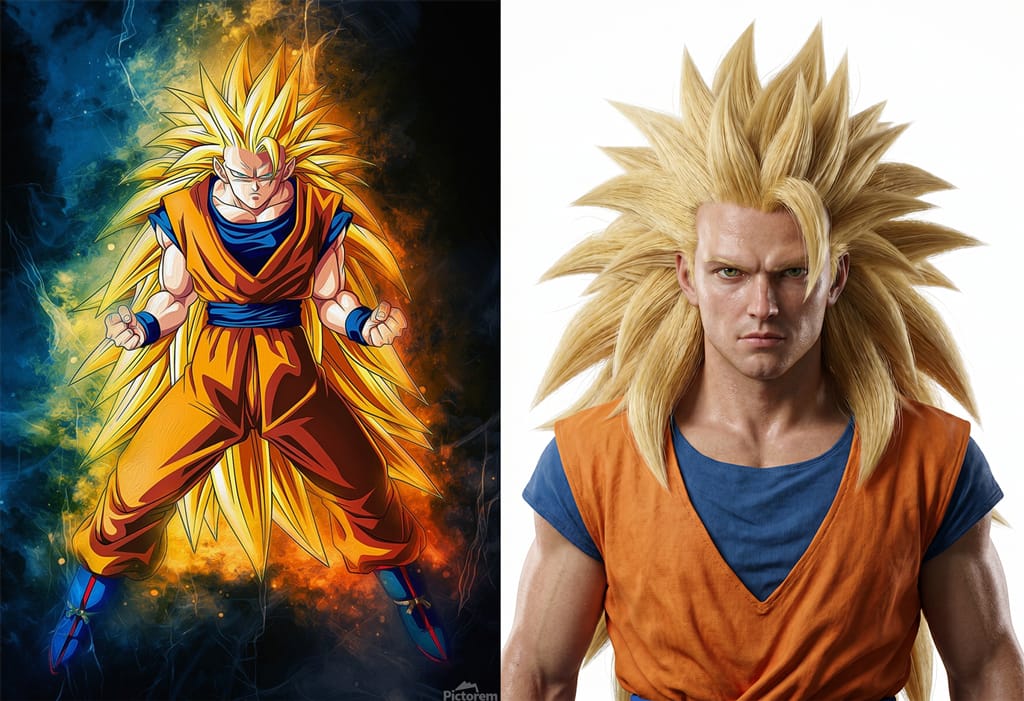
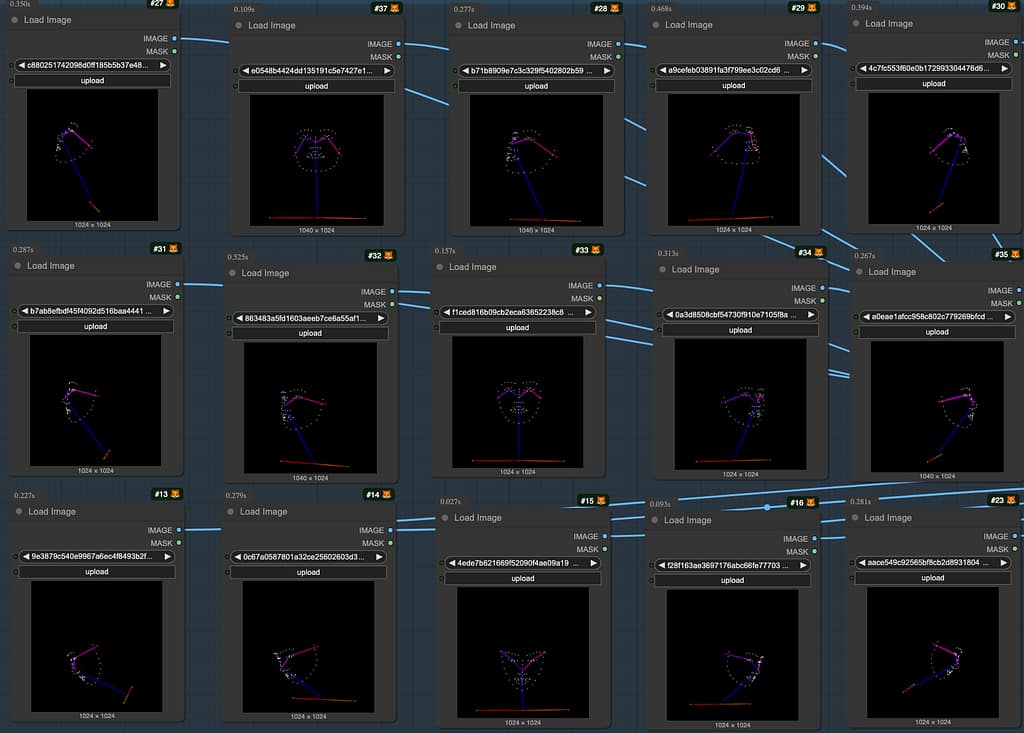
2. ใช้ Qwen image Edit 2511 workflow ต่อไปนี้ สร้าง มุมกล้องใบหน้า
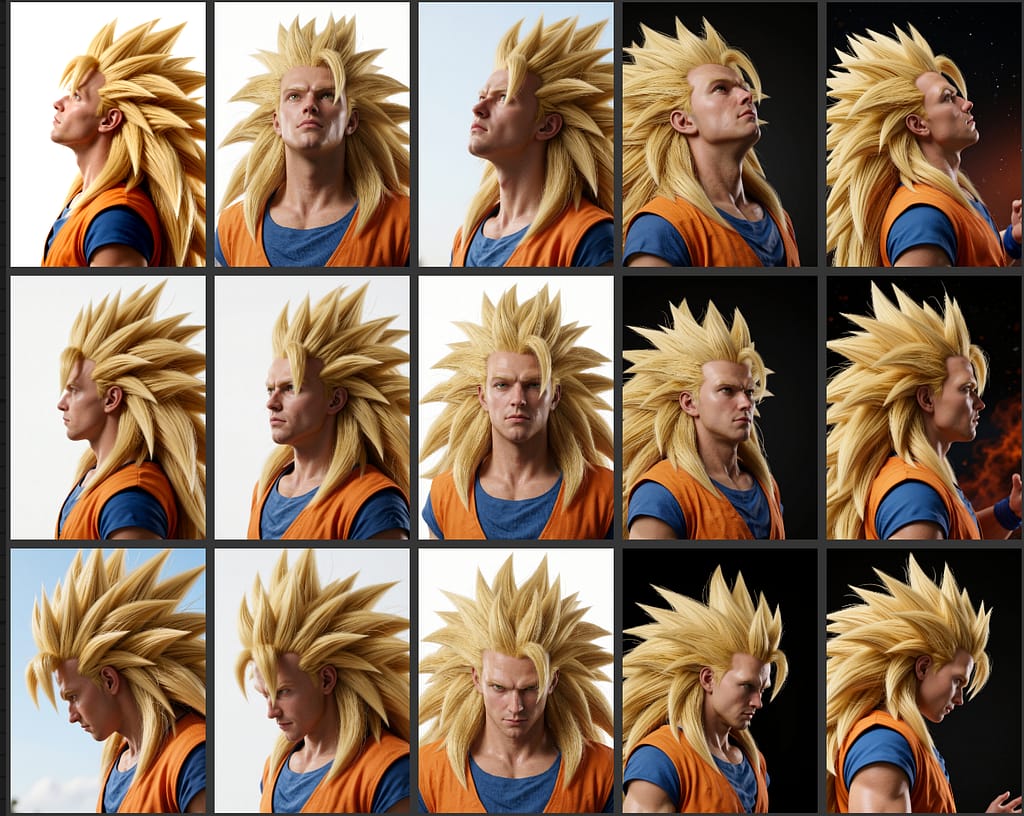
ใช้ workflow ต่อไปนี้ สร้างหลายมุมกล้อง ใบหน้า https://www.runninghub.ai/workflow/2061257267172958209
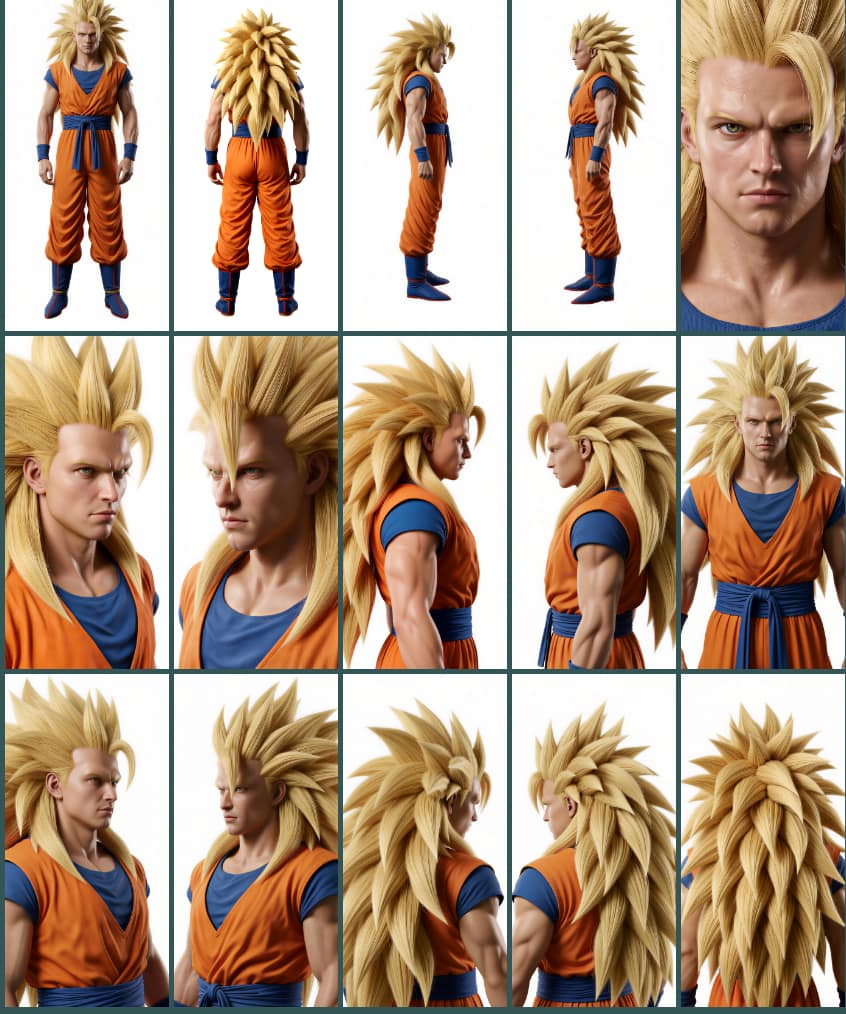
3. ใช้ workflow ต่อไปนี้ สร้าง next scene เต็มตัว หลายมุมกล้อง
NextScene Qwen image edit 2509 nunchaku https://www.runninghub.ai/post/2061259153573769218
4. สุดท้าย upscale ด้วย FLUX2 Klein
Leave a Reply